This is my way of preparing linoleum blocks for printing, and other printers will no doubt have their own ideas and methods.
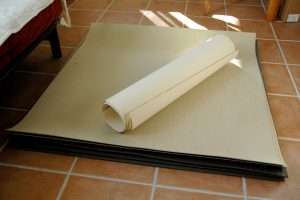
There are two types of linoleum I use: the first is battleship grey lino which is smooth and can be cut with sharp detail. It has no texture, and as such, it prints a flat, even colour. The second is six millimetre thick cork linoleum. The cork gives a texture when printing, even when all care is taken to smooth sand as perfectly as you can. That, however, looks more lively. Depending on the effect you want, choose the one which gives you the result you would like – smooth even colour or a textured colour. You can also use them in combination while making a multi block print and also combine them with ten millimetre poplar ply for colour blocks.
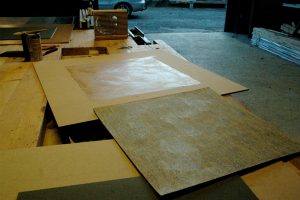
Normally I glue the sheet of linoleum with neoprene glue onto a sheet of between four and six millimetre MDF (or medium as they call it here in France). Immediately after that run it through the press to even out the lino on the block as the glue might be a bit thicker in some places than in other places. Trim and smooth the edges of the lino neatly with a sharp knife and sand paper. Then the MDF carrying board is varnished with three coats of gloss varnish: gloss varnish is easier to clean off any ink smudges. Also varnish the edge of the lino so water can’t seep into the jute fabric, swell it and lift the edge.
Varnishing prevents the MDF from swelling and distorting while sanding the block with water proof sanding paper and water, and also when cleaning and rinsing the block after a printing session. In addition, if you slip while inking with the brayer, it is easily cleaned.
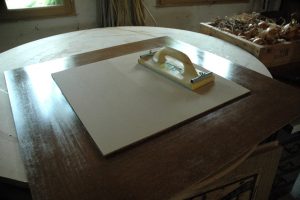
Then comes the sanding of the surface of the lino. First use a big flat sanding board to even out any bumps. If you don’t, it will come back to haunt you. Next, sand with fine waterproof sandpaper by using a smaller hand held cork sanding block and water. It takes a while, but the end result will be a smooth, even surface to work on.
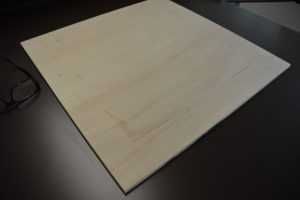
To check if the surface is even and smooth, wipe the block clean from sanding debris and glance over it. If necessary, carry on sanding a bit longer. This preparation is essential to avoid uneven printing results. It will be too late to rectify it later and it will be a real shame after all the effort you’ve put in. On the photo you can see the well-varnished MDF board, now protected from water.
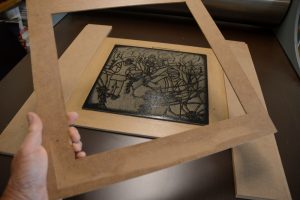
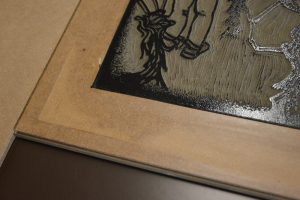
The next step is to make up a mask of three millimetre MDF which fits snugly around the sheet of lino [already glued to the heavier MDF sheet]. The outer dimensions of the sheet are the same as for the entire block, lino and backing MDF sheet.
The mask serves several purposes. It is used to set out the registration marks. When it is a multi-block print, the same mask is used for all the lino blocks. If I use a poplar ply sheet for colour I prepare the registration and use that to lay on the offset print, so no mask is used there, but the registration is still uniform on all the blocks, lino and ply. Because the mask is not in contact with the block while inking, there is no chance of marking a nice, expensive sheet of paper as it is only put in place after the inking. The mask lies on top of any ink marks made by the brayer on the support board. Any accidental ink marks can easily be sanded away as the mask is not varnished.
As the thickness of the mask is less than that of the lino, it sits slightly lower than the surface of the lino. The pressure while printing is partly taken up by the mask, which protects the lino from being compressed too much and losing detail.
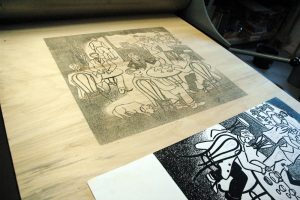
After the Key block has been cut and the registration marks are in place, I then use heavy cartridge paper to make offset prints on the other prepared lino block(s) and or prepared ten millimetre poplar ply block(s). To that end the key block is more heavily inked than usual and, immediately while the ink is still wet, the printed sheet is laid upside down onto the other block (in the registration marks!) and run through the press.
For colour blocks, where appropriate, I use ten millimetre poplar ply. It is a bit rough, but it serves the purpose as it is much cheaper than linoleum. Again this sheet is cut to the same dimensions as the lino block assemblage. As the surface of the plywood is tender try to avoid scratches where you don’t want them. Sand it to a fine finish and make sure the registration mark is in place before making the offset image on it.
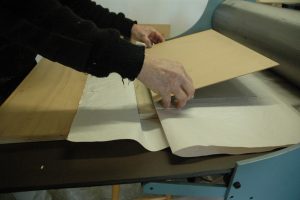
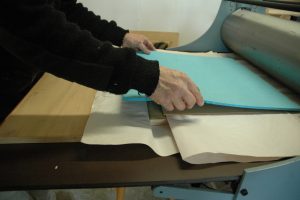
When printing on the press I use a sheet of neoprene rubber to even out possible imperfections in the height of the block. To avoid the rubber pressing down the paper into those areas I do not want to be printed I place a piece of heavy mill board on top of the sheet of paper to be printed, but not until I place a sheet of cheap newsprint paper first as the mill board is rather expensive; once again to prevent it being marked by possible smudges of ink. While doing a printing run, I change the orientation of the mill board several times or turn it over in order to avoid it being continually dented in the same place.
Of course while printing have a bowl of soapy water and a cheap towel handy to keep your fingers at all times meticulously clean. Imagine all the effort, time and cost of materials involved only to spot some unwanted marks on your print.


Woodcuts
wouter@acwwoodcuts.com
42 Rue Grand'Rue
11240 Belvèze du Razès
France +33 (0)4 30 07 30 80